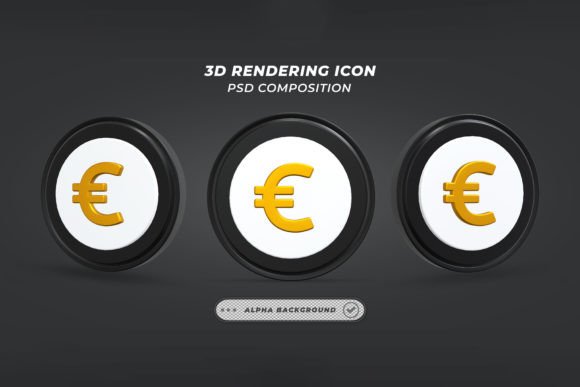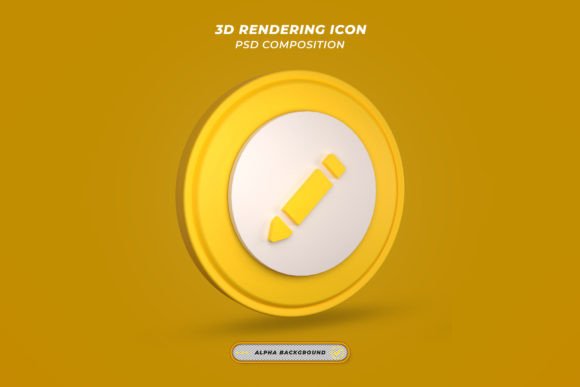
Mastering Visual Presentation: A Guide to High-Quality 3D Render Pencil Icons
In the modern digital landscape, visual communication is no longer just an enhancement; it is a fundamental pillar of effective design. Whether you are a graphic designer, a marketing professional, or a content creator, the assets you choose define the perception of your brand. Among the most versatile and symbolic tools in this arsenal is the 3d Render Pencil Icon. This specific asset represents creativity, editing, and precision, making it indispensable for portfolios, educational materials, and software interfaces.
However, finding the right visual element is only half the battle. The true challenge lies in usability, resolution, and adaptability. This article explores why high-quality 3D renders are essential, how they fit into contemporary workflows, and how utilizing pre-made, editable templates can significantly streamline your creative process.
The Significance of 3D Renders in Modern Design
Flat design had its moment, but the industry has seen a massive resurgence of three-dimensional elements. A 3d Render pencil Icon offers depth, realism, and tactile appeal that two-dimensional vectors often lack. When users see a well-rendered object with proper lighting, shadows, and texture, it creates a subconscious connection to quality and professionalism.
These icons are not merely decorative. They serve functional purposes in user interface (UI) design, signaling "edit" functions in applications, or acting as hero images for blog posts about writing and creativity. The shift toward 3D allows designers to create more immersive experiences, bridging the gap between the digital screen and physical reality.
Why Resolution and DPI Matter
One of the most critical aspects of any digital asset is its technical specification. Many free resources online offer low-resolution images that pixelate when scaled. In contrast, premium templates prioritize clarity. For instance, a high-quality template should offer a resolution of 4500 x 3000 pixels with a density of 300 DPI (Dots Per Inch).
- Print Readiness: 300 DPI is the standard for professional printing. Whether you are creating business cards, brochures, or large-format posters, this density ensures crisp edges and smooth gradients.
- Scalability: A 4500 x 3000 canvas provides ample room for cropping and resizing without losing detail, making it suitable for both web banners and high-definition displays.
- Future-Proofing: As screens become sharper (4K and 8K monitors), having high-resolution source files ensures your work remains relevant and visually appealing on all devices.
Simplifying the Workflow: The Power of Smart Objects
For many designers, especially beginners, the complexity of 3D software like Blender or Cinema 4D can be a barrier. This is where pre-rendered templates with Smart Object Replacement Layers become invaluable. These templates are designed with a singular aim: to make life easier for users.
The concept is straightforward yet powerful. Instead of spending hours modeling, texturing, and lighting a scene from scratch, you can utilize a file that has already been optimized. The key feature here is the "Smart Object." In programs like Adobe Photoshop, a Smart Object preserves an image's source content with all its original characteristics, enabling you to perform non-destructive editing.
How Easy Is It Really?
The ease of use cannot be overstated. With a well-organized file, the process is reduced to just a few clicks:
- Open the File: Launch the included PSD (Photoshop Document) file.
- Locate the Smart Object: Find the layer specifically marked for replacement. These layers are usually clearly labeled and organized within folders.
- Edit and Save: Double-click the smart object thumbnail. This opens a new tab where you can place your own design, logo, or texture. Once you save and close this tab, the main 3D render updates automatically to reflect your changes.
This workflow allows for 100 very easy to edit interactions. You do not need to understand complex rendering engines. You simply need to know how to double-click and save. This democratizes high-end visual production, allowing small businesses and individual creators to produce agency-level graphics.
Customization and Flexibility
A common misconception about using templates is that they limit creativity. On the contrary, a good template serves as a foundation that enhances flexibility. In the case of a 3d Render Pencil Icon template, customization extends beyond just swapping textures.
All colors can be changed easily. Through adjustment layers and hue/saturation controls, you can match the icon to your brand’s color palette instantly. If your brand uses a vibrant blue instead of the default yellow pencil, you can achieve this in seconds. This adaptability ensures that the asset feels bespoke, even though it started as a template.
Furthermore, the organization of the file plays a crucial role. Messy files with hundreds of unnamed layers are a nightmare to navigate. Premium templates ensure that layers are very Organized, grouped logically, and named clearly. This structure saves time and reduces frustration, allowing you to focus on the creative aspect rather than hunting for the right layer.
Understanding File Inclusions and Limitations
When downloading digital assets, it is vital to understand what is included in the package. Typically, a comprehensive download will include:
- PSD File: The fully layered, editable Photoshop file with smart objects.
- JPG File: A high-resolution flattened image for quick previews or immediate use if no editing is required.
It is important to note that all images that are not included are examples for presentation purposes only. This means that if the preview shows a specific logo or artwork on the pencil, that specific artwork is not part of the download. It is there to demonstrate how the smart object works. Users must replace these placeholders with their own content. This distinction is crucial for avoiding confusion and ensuring that you have the necessary rights to the final output.
Practical Applications in Daily Work and Business
Where can you use a high-quality 3d Render Pencil Icon? The applications are vast and varied:
Educational Content: Teachers and online course creators can use these icons to highlight "writing assignments," "note-taking tips," or "creative workshops." The 3D aesthetic makes educational materials feel more engaging and less sterile.
Software Interfaces: App developers can use these renders for onboarding screens or feature highlights. A realistic pencil icon can intuitively signal a drawing or annotation tool to users.
Marketing Materials: For stationery brands, art supply stores, or writing blogs, these images serve as perfect hero shots for social media posts, email newsletters, and website headers. The high resolution ensures they look stunning on retina displays.
Conclusion: Elevating Your Creative Toolkit
In conclusion, integrating a 3d Render Pencil Icon into your design toolkit is a strategic move toward higher quality and efficiency. By choosing templates that offer high resolution (4500 x 3000 at 300 DPI), organized smart objects, and easy color customization, you eliminate the technical barriers associated with 3D design.
These resources are built with the aim of making it easier for users, allowing you to achieve professional results with just a few clicks. Whether you are a seasoned designer looking to speed up your workflow or a beginner eager to create stunning visuals, these templates provide the perfect balance of quality and usability.
Thanks for Download and taking the time to understand the value of these assets. We encourage you to experiment with the smart object features and explore the endless possibilities of customization. And also see my other works; maybe you like it too. Expanding your library with consistent, high-quality 3D elements will undoubtedly elevate the visual standard of your future projects.