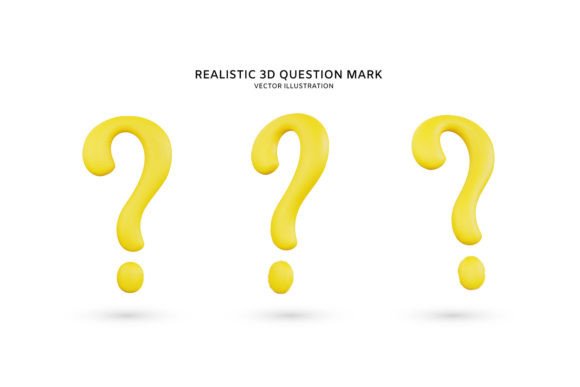
Mastering the 3D Realistic Yellow Question Mark Concept for High-Impact Visuals
In the fast-paced world of digital marketing and content creation, visual clarity is paramount. Whether you are designing a landing page, crafting a social media campaign, or building an educational presentation, the need to represent inquiry, curiosity, or problem-solving often arises. This is where the 3d Realistic Yellow Question Mark Concep becomes an invaluable asset. Unlike flat, two-dimensional clip art that can feel dated or generic, a high-resolution 3D render adds depth, professionalism, and modern aesthetic appeal to your projects. However, simply downloading any icon is not enough. To truly leverage these assets, creators must understand how to integrate them effectively without compromising quality or workflow efficiency.
Why Resolution and Format Matter More Than You Think
One of the most common mistakes beginners make is overlooking technical specifications until it is too late. You might find a visually appealing question mark icon, only to discover it pixelates when scaled up for a banner or print material. This is why starting with a high resolution render is non-negotiable. A professional-grade asset should offer a resolution of at least 4500 x 3000 pixels with 300 DPI. This ensures that your image remains crisp whether it is viewed on a retina display smartphone or printed in a high-quality brochure.
Furthermore, the file format dictates your flexibility. Relying solely on flattened JPEGs limits your ability to adapt the design to different brand guidelines. The ideal solution includes both JPG and PSD files. The PSD format, with its organized layers, allows for deep customization. If you are working with a template that lacks Smart Object Replacement Layers, you will find yourself manually masking and reshaping elements, a process that is not only time-consuming but also prone to errors. By choosing templates that are specifically designed with smart objects, you streamline your workflow significantly.
The Trap of Static Design in a Dynamic World
Many entrepreneurs and marketers treat 3D icons as static, unchangeable elements. They download a yellow question mark, place it on a white background, and call it a day. While this works for quick drafts, it fails to maximize the potential of colorful 3d icons. A major oversight is ignoring the psychological impact of color consistency. If your brand palette consists of cool blues and grays, a bright yellow icon might clash rather than complement if not adjusted properly.
To avoid this, look for templates where all colors can be changed easily. This does not mean spending hours in Photoshop adjusting hue and saturation sliders for every single layer. Instead, utilize files that allow you to change global color settings or adjust specific material properties within the 3D render structure. This flexibility ensures that your 3d Realistic Yellow Question Mark Concep aligns seamlessly with your overall visual identity, creating a cohesive and professional look that builds trust with your audience.
Efficiency vs. Complexity: Choosing the Right Tool
There is a misconception that high-quality 3D rendering requires advanced technical skills in software like Blender or Cinema 4D. While those tools are powerful, they are not always necessary for everyday marketing needs. Many users waste valuable time trying to model simple concepts from scratch when pre-made, high-quality templates exist. The key is finding resources that are very easy to use.
A well-designed template should allow you to achieve professional results with just a few clicks. For instance, if a file claims to be user-friendly but requires complex plugin installations or obscure scripting knowledge, it is likely not suitable for busy professionals. The best templates are made with the aim of making it easier for users. Look for descriptions that highlight ease of editing, such as the ability to just double-click on the smart object, edit, and save. This simplicity empowers bloggers, educators, and small business owners to maintain creative control without needing a degree in graphic design.
Understanding Licensing and Asset Usage
Before integrating any downloaded asset into a commercial project, it is crucial to understand what is included and what is not. A frequent source of frustration for freelancers and agencies is discovering that certain elements in the preview image are not part of the download package. Always read the description carefully. Typically, all images that are not included are examples for presentation purposes only. This means the background scenes, props, or additional text shown in the mockup may not be editable or available in the final file.
Failing to check this can lead to missed deadlines and additional costs if you need to source missing elements separately. To mitigate this risk, verify that the core object—the High-Quality 3D Rendering Object—is fully contained within the file. Ensure that the layers are very Organized, as this indicates a professional creator who values usability. Disorganized files often lead to confusion, accidental deletion of critical components, and increased editing time.
Practical Steps for Seamless Integration
To get the most out of your 3d Realistic Yellow Question Mark Concep, follow these practical steps during your selection and editing process:
- Check the DPI and Dimensions: Ensure the file meets the 4500 x 3000 resolution standard to future-proof your designs against higher-density screens.
- Test the Smart Objects: Before purchasing or committing to a template, open the PSD and test the smart object replacement. It should be intuitive and preserve the lighting and shadows of the original render.
- Verify Color Editability: Confirm that you can adjust the hue of the yellow question mark to match your brand without losing the realistic texture and shading effects.
- Review Layer Organization: A clean layer structure saves hours of work. Avoid files with hundreds of unnamed layers grouped haphazardly.
By paying attention to these details, you transform a simple graphic element into a powerful communication tool. Whether you are highlighting a FAQ section, teasing a new product feature, or illustrating a complex problem in an educational video, the right 3D asset enhances comprehension and engagement.
Expanding Your Creative Toolkit
Once you have mastered the use of a single concept, consider how it fits into a broader library of assets. Consistency across your visual materials strengthens brand recognition. If you find a creator whose 3d rendering colorful 3d icons meet your standards for quality and ease of use, explore their portfolio. Often, designers offer cohesive packs that include various symbols, arrows, and shapes rendered in the same style. This approach ensures that your question mark does not look out of place next to your exclamation points or checkmarks.
Remember, the goal is not just to decorate your content but to communicate more effectively. A realistic, well-rendered 3D icon captures attention and conveys professionalism. It signals to your audience that you care about the details. As you continue to create, prioritize tools that offer 100 very easy to edit workflows. This balance of high-end visual output and low-effort input is the hallmark of smart digital resource management.
Thanks for Download And also see my other works. maybe you like it too. By choosing high-quality, flexible, and user-friendly assets, you invest in the long-term efficiency and impact of your creative projects. Avoid the pitfalls of low-resolution, rigid templates, and embrace the versatility of modern 3D design resources.